Table of Contents
OpenFOAM is a popular engineering application toolbox. It’s open source and is used for simulating fluid flow around objects. This section describes the different installation process available and how to run some basic jobs. Some parts in this section use the Flight Silo tool to download necessary files.
Install OpenFOAM
There are 3 different ways you can install OpenFOAM, each with varying levels of time to setup and complexity. The Basic setup is the fastest and integrates best with the Flight User Suite. The Advanced setup is for users that want more control, and can take over an hour on a 16 core machine.
Basic
-
Download and install OpenFlight OpenFOAM software using Flight Silo
flight silo software pull OpenFOAM 22.12 --repo openflight -
Install dependencies for visualisation.
sudo dnf install -y paraview -
Install dependencies on all nodes.
pdsh -g all 'sudo dnf install -y openmpi' -
Source the OpenFOAM environment and run a basic test. Make sure to change the source file path to the location of your installation. Note that the
modulecommand will not be available to a shell session existing before the installation, logout and back in for it to be presentmodule load mpi source apps/OpenFOAM/22.12/etc/bashrc foamTestTutorial -full incompressible/simpleFoam/pitzDaily
Advanced
Firstly, become the root user, the added permissions are necessary for setup.
sudo su -- Install prerequisites
dnf install gcc cmake boost fftw-devel paraview-devel paraview-openmpi-devel openmpi-devel flex m4 qt5-devel - Make a directory for OpenFOAM in shared storage, so that the OpenFOAM build is available to all nodes in the cluster.
cd /opt/apps mkdir OpenFOAM - Obtain OpenFOAM Source.
flight silo file pull openflight:openfoam/OpenFOAM-v2212.tar.gz tar xf OpenFOAM-v2212.tgz - Compile it.
cd OpenFOAM-v2212 module load mpi source etc/bashrc foamSystemCheck # Check whether expected to work ./Allwmake -j -s -q -l # Compile on all cores - Install dependencies for visualisation.
dnf install -y paraview - Install dependencies on all nodes.
pdsh -g all 'dnf install -y openmpi' - Test that the build works.
foamTestTutorial -full incompressible/simpleFoam/pitzDaily
From this point being the root user is no longer necessary.
Legacy
-
Enable copr for OpenFOAM.
sudo dnf -y copr enable openfoam/openfoam -
Install OpenFOAM, the OpenFOAM version selector, the additional sub-packages and paraview.
sudo dnf install -y openfoam-selector sudo dnf install -y openfoam sudo dnf install -y openfoam2212-default sudo dnf install -y paraview -
Ensure that the correct version will be used with:
openfoam-selector --set openfoam2212 -
Refresh the shell by logging out and back in to make openfoam commands accessible.
Make sure to do the above installation steps on all nodes in the cluster.
- Check an OpenFOAM command can be seen by viewing the help page:
icoFoam -help
Simple Workflow Example
For this example, your environment will need to have a job scheduler such as Slurm
Run Job
-
Download a job script to the working directory. This script assumes that it is being launched from the home directory, change it if that is not the case. It also cannot be run as the root user.
flight silo file pull openflight:openfoam/cavity-example.sh -
Submit the job to the queue system:
sbatch cavity-example.sh -
Check that the job is running (it may take some time to complete):
squeue
View Results
Once the cavity job has finished running, the results can be visualised through a desktop session.
-
Connect to VNC or web-suite desktop (For more information on launching desktops, see the Flight Desktop section).
-
Navigate to the cavity directory and launch the paraFoam viewer:
cd cavity paraFoam -
In the window that opens, scroll down to “Mesh parts” and select all the boxes, then click apply
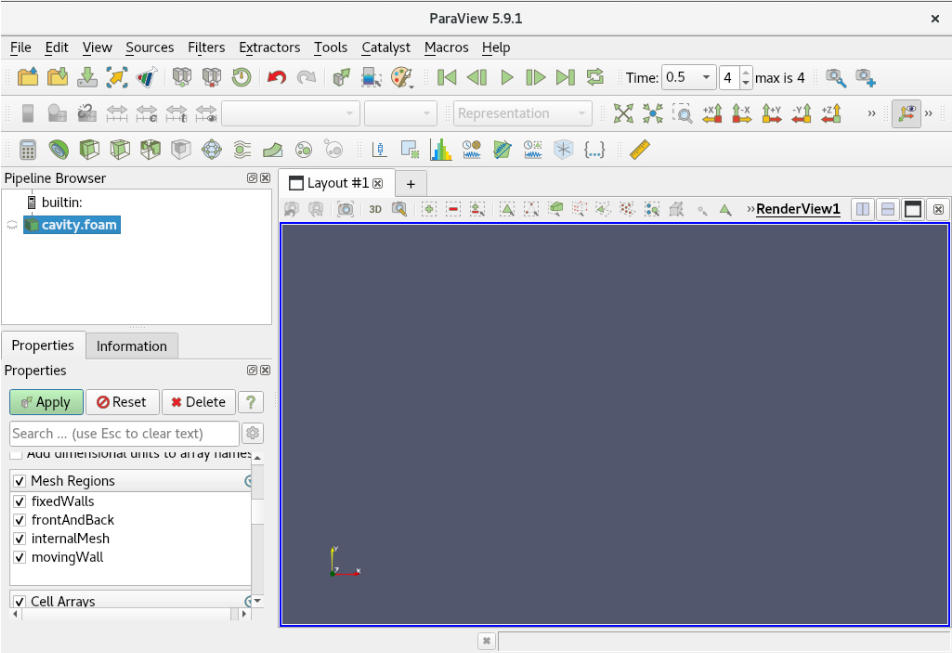
-
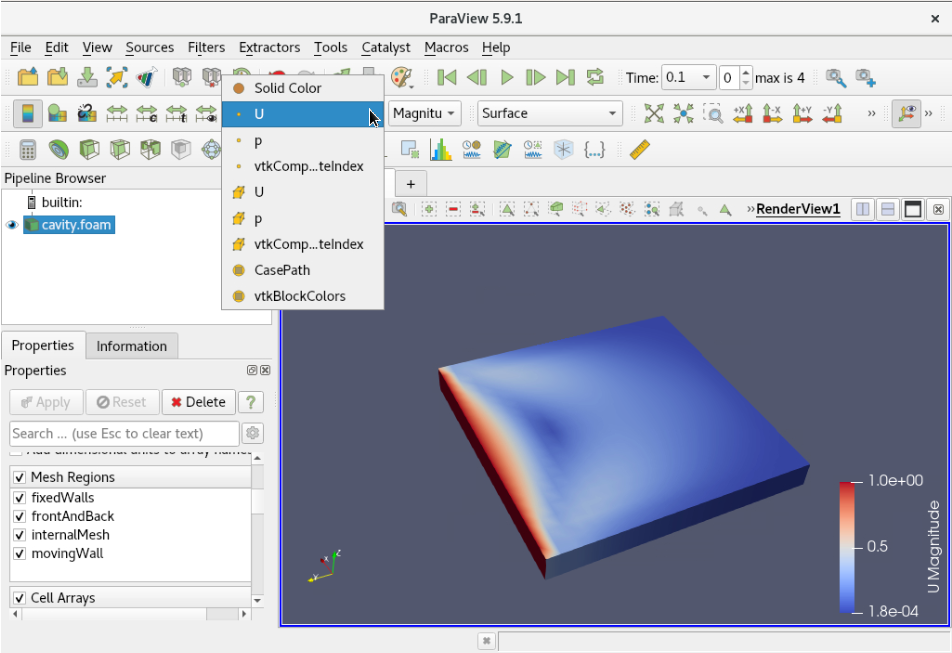
Next, change the display to ‘U’ in the drop-down menu, click play to change the timestamp and then click and drag to rotate the subject
MPI Workflow Example
For this example, your environment will need to have a job scheduler such as Slurm
Prepare Job
-
Start by downloading this job directory in a location of your choice.
flight silo file pull openflight:openfoam/motorBike.tar.gz -
Decompress it, which will make a directory called
motorBike.tar xf motorBike.tar.gz -
Update the job configuration.
- Open
motorBike/system/decomposeParDictand set:Xto the number of processes to run across.A B Cto be numbers such thatA*B*C=X
- Open
-
Update the job script.
- Open
motorBike/motorbike-example.sh.- Set
-n Xto the number of processes to run across. - Set
sourceto point to the location of OpenFOAM. - Set
$HOME/motorBiketo the location of the motorBike job.
- Set
- Open
Run Job
- Submit the job script to the scheduler.
sbatch motorBike/motorbike-example.sh
View Results
Once the job has finished running, the results can be visualised through a desktop session.
-
Connect to VNC or web-suite desktop (For more information on launching desktops, see the Flight Desktop section).
-
Open a terminal and navigate to the job directory.
-
Launch Paraview
source /opt/apps/OpenFOAM/OpenFOAM-v2212/etc/bashrc paraFoam -
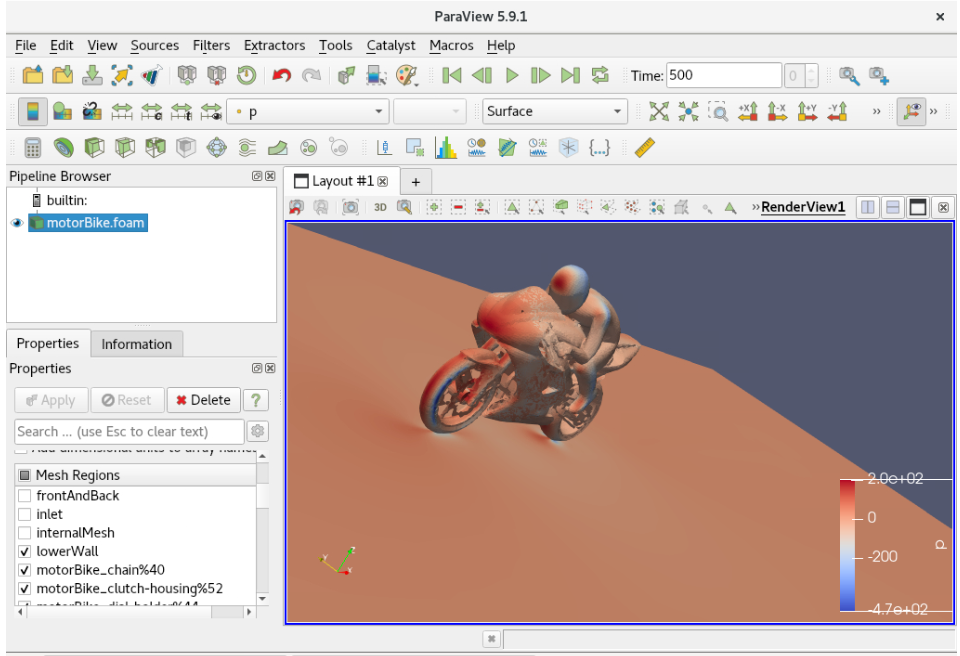
In the window that opens, go to the bottom left and scroll down to “Mesh parts”. Select all the boxes except
frontAndBack,inlet,internalMesh,outletandupperWall, and then click apply.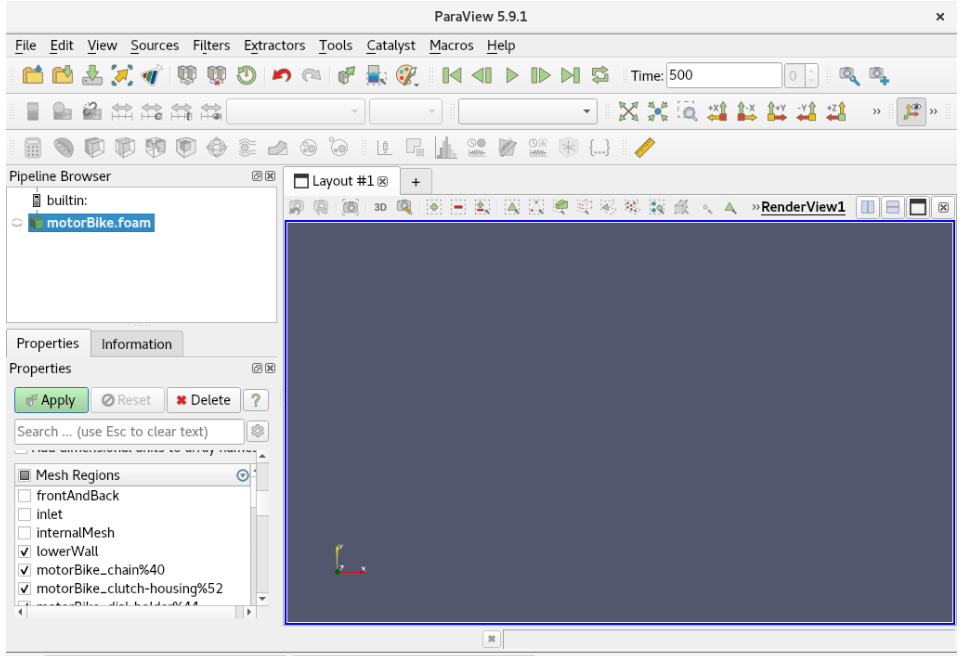
-
You should now see a motorbike along with a rider and the forces visualised on them!